
Are you new to Cricut and Cricut Design Space? Maybe you have just got your new Cricut cutting machine unboxed and now you want to make your very first project with one of the amazing SVG files you have found online? In this post, I am going over how you upload that very first SVG to design space and get cutting today.
Opening an SVG file in Cricut design space is actually really simple. Once you’ve done it the first time and actually gone through the steps it will be a breeze from here on out.
In short, if you just need a reminder these are the steps you need to take in order to open an SVG file in Cricut design space.
- Locate your SVG file on your computer and make sure to unzip it from the folder that it’s in. This is actually the most important step of all because you forget to unzip the file, the Cricut program will give you an error.
- Once you have located the file, you can open your program and click on make a new project.
- In the bottom left corner, you will find a button called upload. Click on that and upload your file as a cut file, remembering to give it the right name and some useful tags.
If you are new to the Cricut and don’t know what buttons to click in the upload interface, then keep on reading as I will go into more detail.
Also, did you know that we offer a bunch of free svg files right here on designsbywinther.com? Right now we have more than 250 free files for you to download and craft with. Check them out here: Free svg files
Uploading an SVG file to Cricut Design Space for the very first time
All right, as I said in the beginning this tutorial is perfect for you, if this is the very first time you are trying to upload an svg file into Cricut Design Space. Let’s take it from the top again, but in much more detail, so we can get you cutting your first file in a couple of minutes.
Unzipping the SVG file
The first thing we need to make sure is that your file is ready to be uploaded to the software. This is where the unzipping comes into play.
To unzip a folder on a pc/windows computer all you do is to right-click with your mouse on the folder and then click on “extract all” and then save it somewhere on your computer, where you can easily find it again.
If you are on a Mac all you do to unzip a folder is to double-click on the folder.
If you are in the early stages of collecting svg files and craft files in general, it will be super beneficial to you, if you from the beginning get a good system for saving the files on your computer. Make sure that you note whether or not you can use the files for commercial use and also where you got it from.
Uploading the file to Design Space
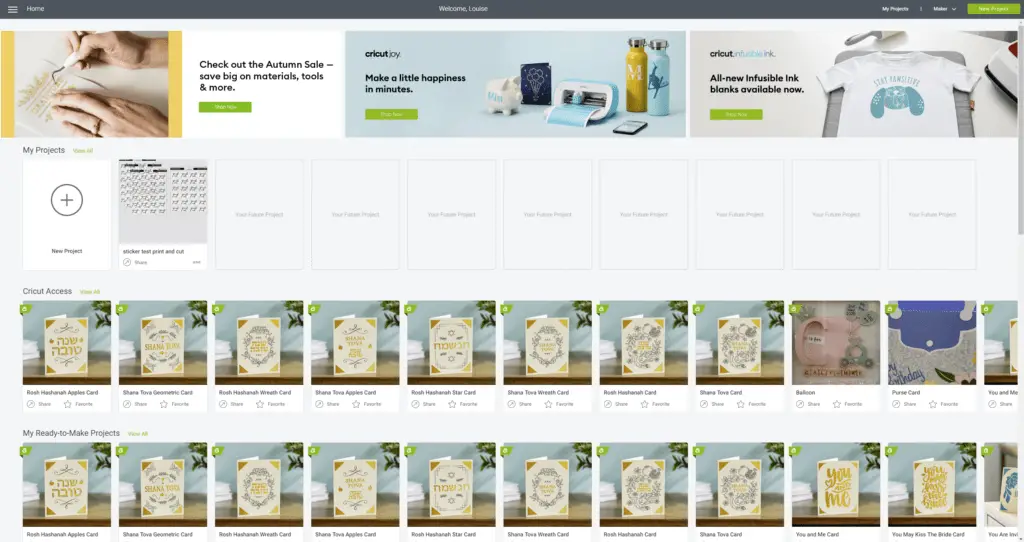
Once you have your file unzipped, it is time to open Cricut Design Space. It will look something like this
In order to upload your craft files, you need to click on “new project”. it is located in the top right corner.
Then you are taken to the actual program, where you can manipulate designs and make your own. From here you click on upload. It is the button on the left bottom side, with a picture of a cloud and an arrow pointing up.
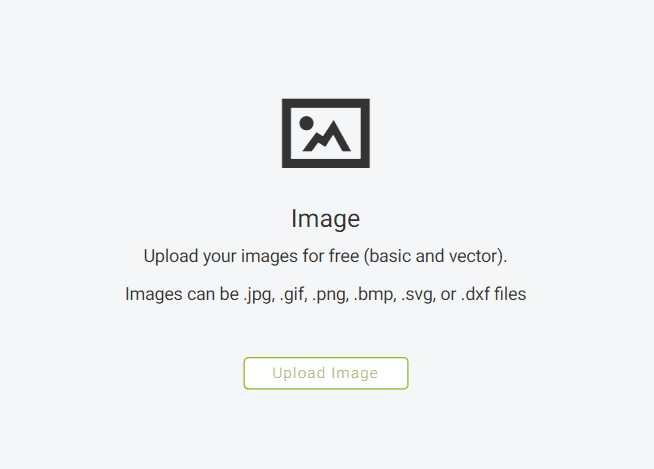
Then you are presented with a screen from where you can upload your images. For svg craft files you want to click on the one that says “upload image” – it looks like the image below.
Now you find your svg file on your computer, where you saved it. Then you can drag and drop the SVG file into the program. Designers often provide more than one image format, so make sure that you choose the file that is named .svg for uploading.
Then give your svg a name that you can easily remember if you want to find it at a later point. You can also give it tags, that are searchable, so you have a better way of categorizing the files you download online.
these tags can be anything from describing the svg or maybe you want to add the site where you found it. Basically, doing this step will help you in organizing your files and make it so much easier for you to find later on.
Once you have named and tagged your svg file, click on save, and then you are ready to go. If you are presented with more options than described here, you have the wrong file format, probably a png or jpeg.
Then go back and relocate your folder with the svg file. Make sure to pick the right format and then try again.
Once uploaded you are taken back to the upload screen, and your image should be the first one under “recently uploaded images”. Click on the file and then click on “insert images” to begin your craft project with the file.
When to upload a svg, png or jpeg?
As I mentioned above the files you download often comes with other file formats, such as jpeg, png, and even dxf. So when do you use an svg instead of a png or jpeg? This can get a little techy, but hang in there, it is important that you know when to use what.
What is and when to upload an SVG to Cricut design Space
An SVG file is an encoded image format with information that your machine can read. The information saved in the svg can tell your Cricut machine things like where to cut, what parts are grouped together, or even merged. These are choices that the designer of the file has made when it was saved.
You will need this format when you want to cut projects where you need to be able to separate individual elements within the design. So let’s say you want to put the design on the image below on a t-shirt using HTV as your material.

When uploading this file as an svg you are given the option to cut the letters in one color and the coffee cup in another. These options are ready for you, when you open the svg, because of the information that is encoded within the format.
The svg format is often ideal if you want to make projects where you do not need a printer. Actually I would go with an svg file whenever I don’t need to use the print then cut feature within Cricut.
Think about projects where you use materials such as vinyl, HTV, cardstock, foam, leather, wood, etc.
Also, the svg file format can be scaled to any size, as it is made from vector shapes, making it great for any size project you can think of.
When do you upload a png or jpeg instead of svg?
Now, this image format is different from SVG in the sense that your machines will not know where to cut from the get-go. The machine will treat the image as one element. Therefore, it will only cut around the image and not all the different little pieces.
If you want to cut it differently than Cricut thinks, you will need to tell Cricut where to cut, by manipulating the image in the uploading stage.
If you upload a PNG, which is a format that offers a transparent background, your Cricut will have a better understanding of cutlines.
The jpeg and png format can be great for print and cut projects, because a designer can save different kinds of information in this format, like digital glitter, patterns, watercolor effects, or gradients. These kinds of features are not available within the svg format.
As for these two formats, the size of your original image is important to consider. As jpeg and png images can’t be scaled larger than the original size, without losing quality. That is due to the fact that they are made from pixels and not vectors like the svg format.
So let’s say you want to make a shirt like in the image below, you would need to print and then cut the image file. Here you could choose something like a printable HTV to print the image on and then cut around it with your Cricut after printing.

I left the black outline on the image so you can clearly see what your Cricut would cut. So on this file, your printer would print the graphics and your Cricut would then cut around the image before you put it on your shirt.
The pumpkins in the image have a beautiful watercolor texture, which you can’t really get without printing it on a printer, which is why this graphic is better uploaded as a png.
How about dxf? do you need it for Cricut?
Then there is the format dxf. Many designers add this format to their zipped folders as well. However, that is not something you, as a Cricut user, will ever have a need for.
The Dxf format is generally provided for the silhouette users, as the silhouette cannot read the svg format from the get-go.
So when you as a Cricut user sees this format in your folder, you can delete that, no problem.