

One of the questions I see most often online in the crafting groups I am a part of is: how do you convert an image into an SVG cut file? So I decided to make this post with the different ways I have found to convert images to cut files successfully.
Let’s get started, so you can make your images into svg cut files in no time.
How to ensure a great conversion
Before we take a closer look at how you would go about converting your jpeg we need to take a look at the image that you are trying to convert. Some images are definitely better than others.
Some things you need to look out for when you want to convert an image to an SVG file is the size, the contrast, and the overall quality of the image.
Some of the converters we are going to look at will give you a better result if the image and the person/object you are trying to trace is in a clear focus and the background isn’t too busy.
So, please make sure that your image is:
- Sharp and in focus
- your object/person is clearly defined from the background
- your image is of a decent size
Converting images to SVG files using your iPhone or iPad
All right, the first thing we are going to look at is how you can convert one of your images to an SVG straight from your phone or iPad if you have one of those.
Downloading and using Imaengine from the App Store
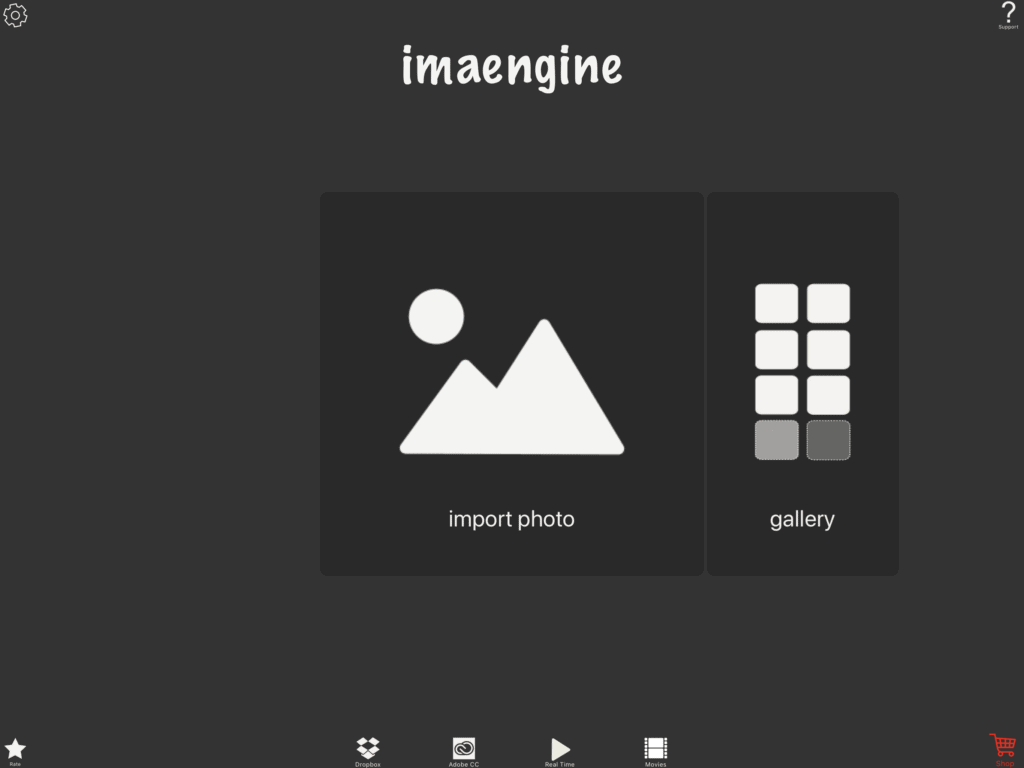
So the first thing you need to do is to search for an app called Imaengine in the App Store. When you have found that then go ahead and download it to your phone. Once you open the app you’ll be faced with a screen that looks like this:
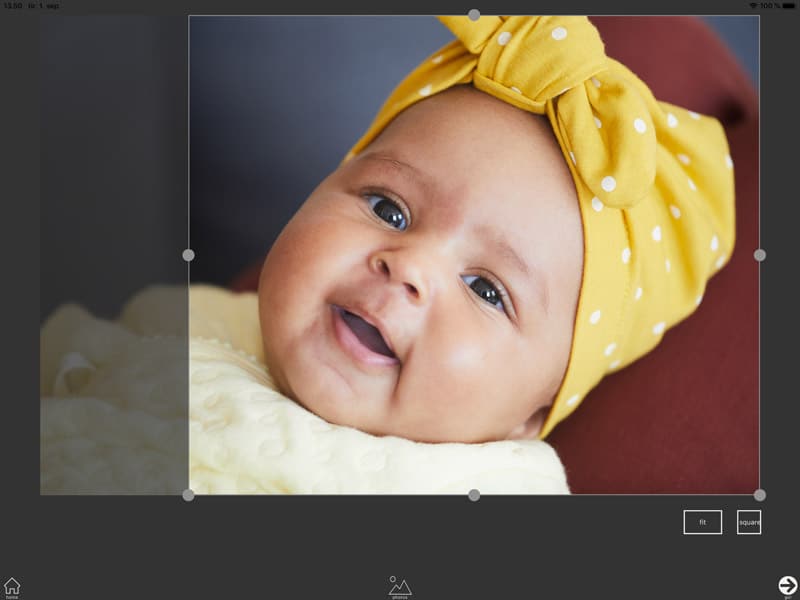
Now click on import photo and choose the photo you want to convert. I am going with this cute picture of a baby girl.

Then you are met with a screen where you have an option to crop your image to the size you want. Adjust the sliders so that it matches the ratio you need for your image. Then click on “go”
If there is a busy background that you can cut out, because it isn’t important for the object you want to convert, then cut it out now.
Editing your images to get a good result
Now comes the fun part. You get to mess around with the settings that work best for your image. There isn’t one setting that is great for all images, so you just have to slide the sliders up and down, one by one, until you have a result that you are happy with. To get the best results for svg files you need to work with the filter that is called “ink”.
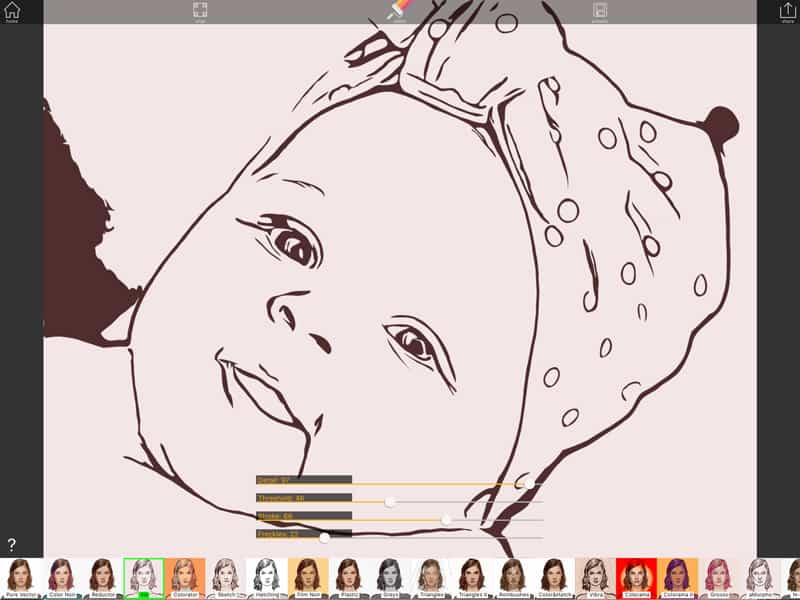
As you see from the image I have chosen here, the results are pretty good. This cute baby is isolated and the image is in great quality, which makes for a great conversion.
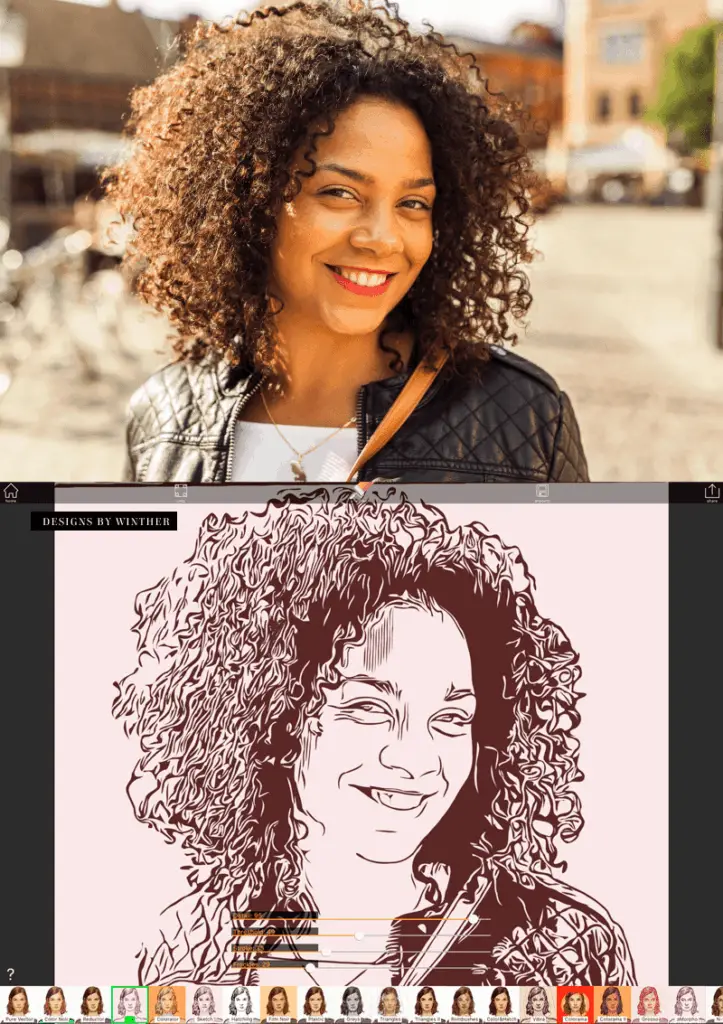
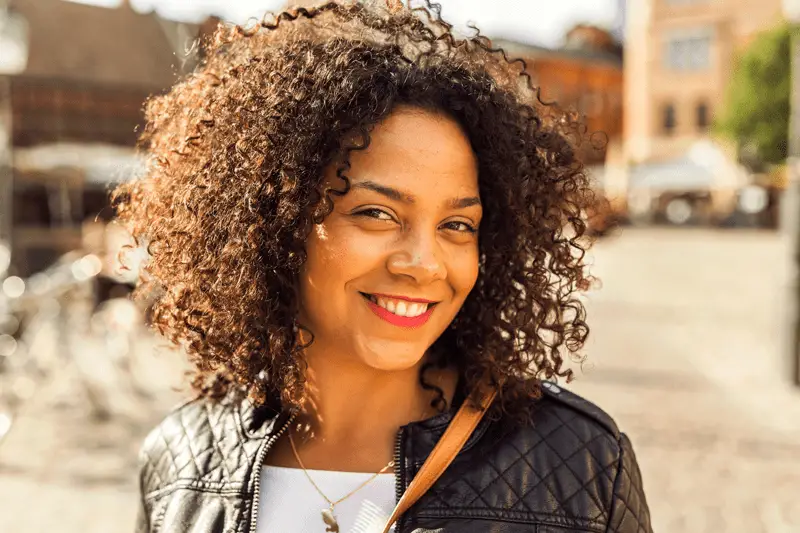
Sometimes you will have an image, that just won’t give a great result, whether or not you can check all the right boxes. Just look at this image below, portraying a beautiful woman. The challenge here lies in the texture of her natural hair. Though the result is pretty good, it would be a nightmare to try and cut, weed, and then apply the file to any surface.
For images like that, where the texture is too heavy, I would recommend another way of converting, like using procreate (further down the post)
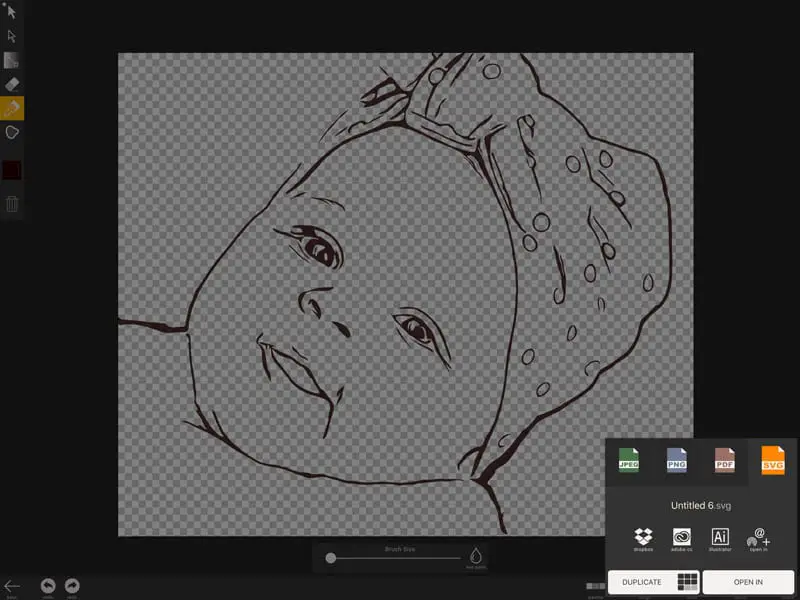
Cleaning up your svg file before exporting
Once you are happy with the result, you click on the editor at the very top of your screen. This will prompt you with a screen where you have the option to edit your image even further. Let’s say there are parts you want to get rid of in the finished svg, then this is where you erase those. On the image I am working with there is a black spot to the left, that I want to erase, and then I am good to go.
Before I edit anything I always make sure to delete the pink background, as it makes it easier to edit the lines, when that is gone. Also, having deleted that now, makes for one less step when you get to upload your file to your program of choice.
When you are done editing your image you click on share and then make sure you are on the svg tab (the orange one). From here you click on open in and then choose your preferred sharing app. I like to use Onedrive, as I have a windows pc, but if you work on a mac I am sure that airdropping would be easier for you.
Now you have your very own SVG file that you can upload to either silhouette studio or Cricut design space or any other place you want to work with an svg file. Please note that in order to open svg files in silhouette, you need to upgrade your software to the (paid) designer edition.
If you do not want to upgrade your software you can always buy the premium version of the app. I believe it is around $3 for lifetime access. Buying their premium gives you the option to save as a jpeg/png, which you can then trace in silhouette and be sure to get a great result because your image then already is converted to black & white.
If you want to know more about tracing your images in silhouette, then keep on reading 🙂
Converting images with the use of photoshop
Okay, so with this method you won’t actually end up with an SVG file, but rather an image in black and white, where the lines are clear so that your software can read the image and make a great trace of it. We are really creating a kind of stencil for your software to read.
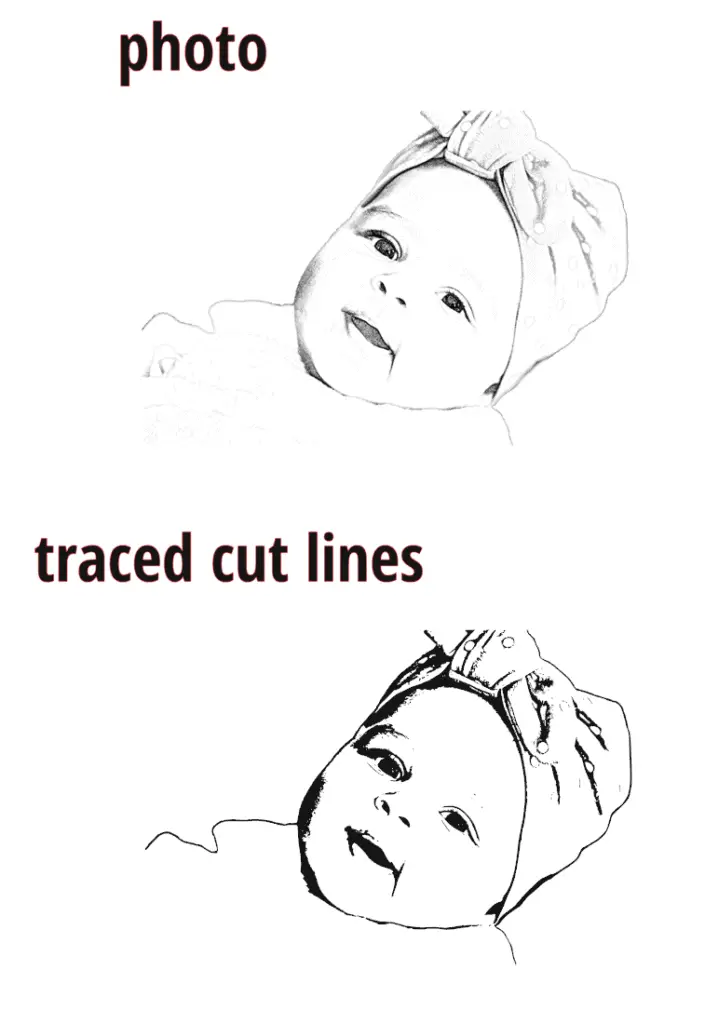
You see, if you have a clear black and white image, with the right kind of contrast you will have a much better outcome with your traced image, rather than just tracing directly in your cutting software. Let me show you the difference
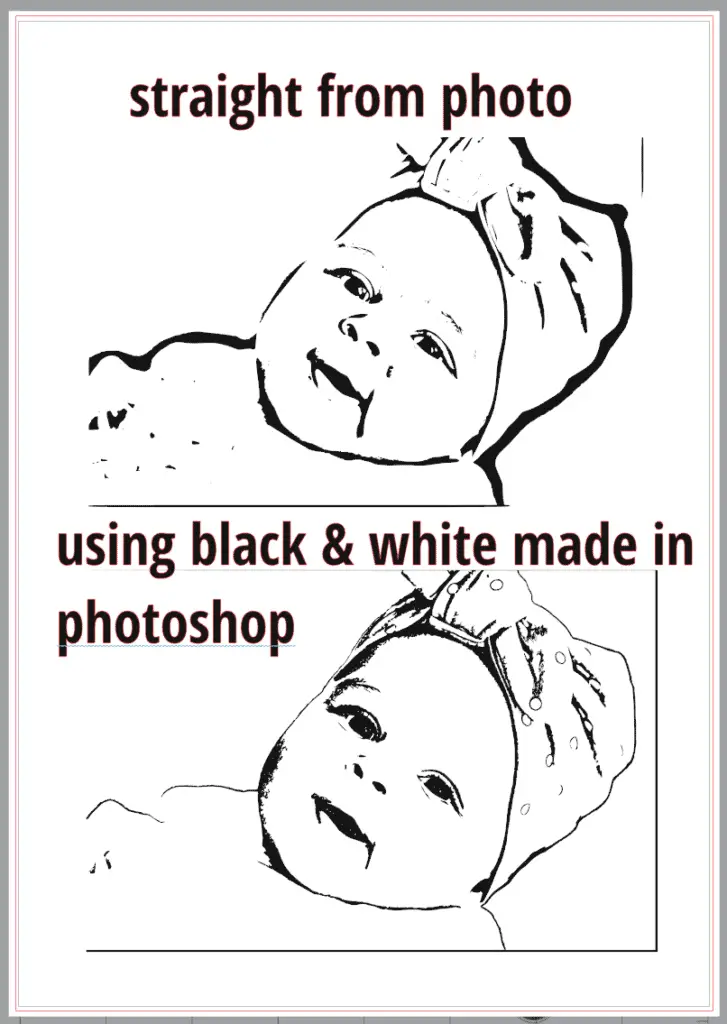
As you see on the images above, you will get a much clearer image trace, if you have converted the image into a line-art style black and white image. There are many different ways to go about this, and I have tried quite a few over the years. I have embedded a tutorial by the channel Photoshop training channel on youtube that I find to give good results and is easy to follow.
Please note, that this method will give you a highly photorealistic result, however, your machine might have some troubles in cutting the image, as it will produce many paths and lines, that you will need to clean up before sending your file to be cut.
This conversion is highly dependent on your image. All the sliders and values that are used here are not the right ones for you. They simply just won’t give you the same results. You need to fiddle with it.
Step one – Open your image in Photoshop and Isolate the object from the background
The very first thing you have to do is to open up your image file. I have the creative cloud subscription and find that the new object selection is easier to use when isolating an object from a background, so let me show you how to do that before you see the video with all the other steps.
Once you have your image ready, you want to isolate the object, that you are wanting to trace. I am working on the same image as before, so you get to see the differences in the different conversion methods.
To isolate an object I am using the button called object selection and you can get to that by pressing “w” on your keyboard. Once you have that tool selected, you click and drag over the object you want to isolate.
If the tool isn’t as accurate as you want it to be you can select areas by holding down shift and deselect areas by holding down alt.
When you think the selection is good, you right-click on your image and choose layer via copy. This will make a new layer with only the object that you just traced and that you are wanting to convert.
Converting your image into a line drawing
Now from here, I want you to follow along on the video I have embedded below. I find it easy to follow and I got some great results from this technique – if you need even clearer outlines, there is also a filter called “poster edges” in the filter gallery that I often use on my images to bring out those lines in an image.
My best advice to you if you are new to doing this is to have fun and play with all the different filters available to you in Photoshop. Also, make sure to do this when you have the time to fiddle and play – not when you are in a time crunch.
Watch from 2.50 to about the 13 min mark.
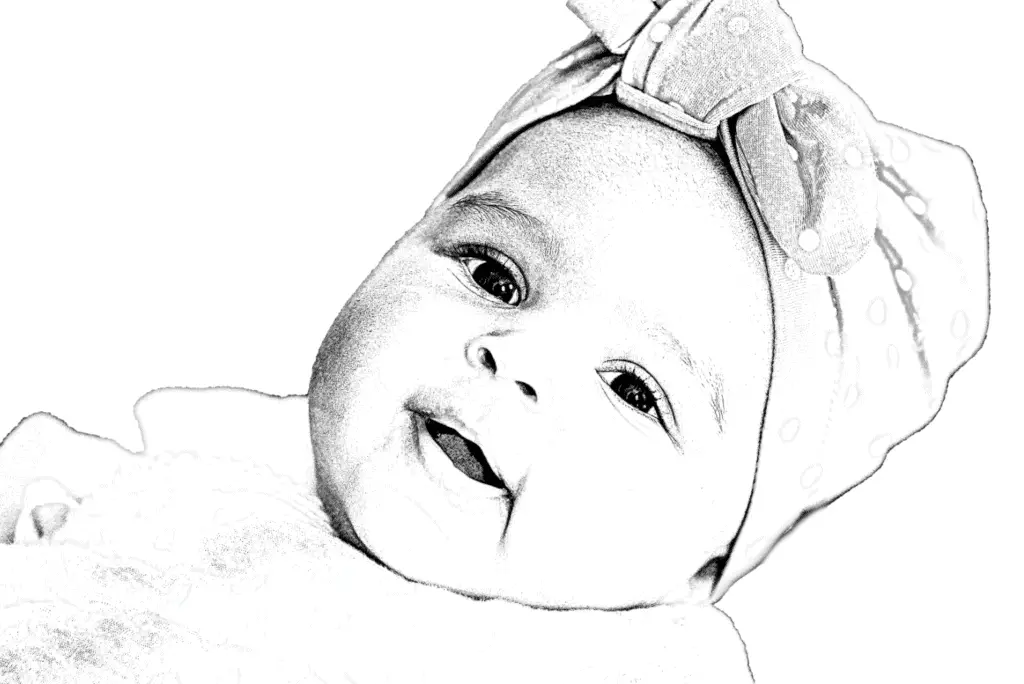
Now you should have a photo that is more or less ready to be brought into your cutting program of choice. Mine turned out like this
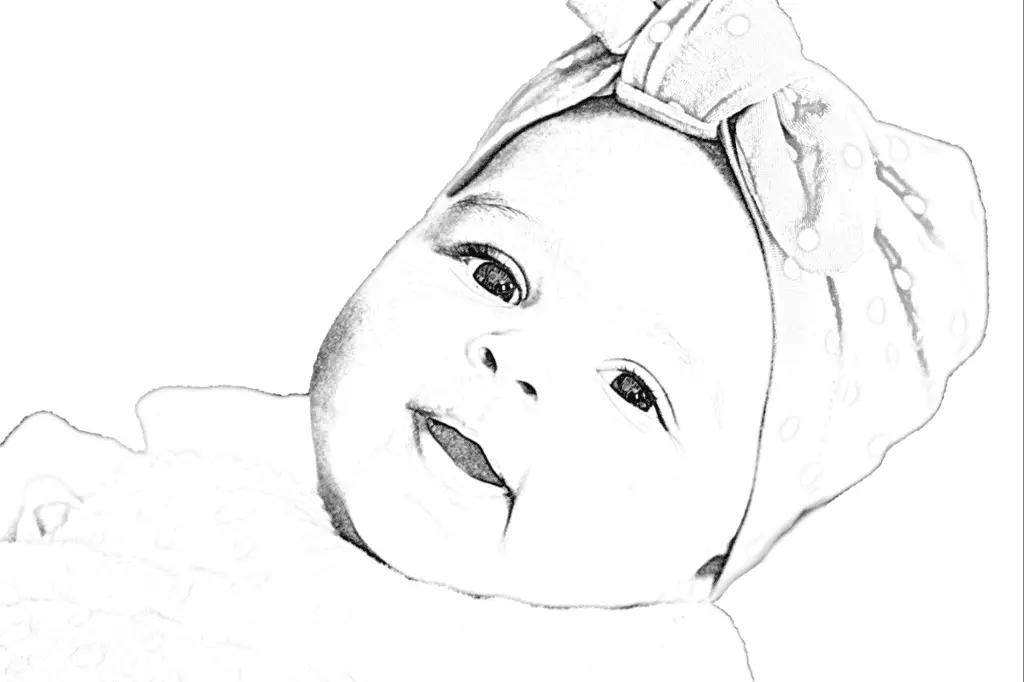
and with poster edges, it looks like the image below. Do you see how the lines are just a little clearer and more defined? with this image, I do not find that it is necessary to add the filter, but if your image needs that extra “oomph” to get a good trace, then you now know how to do that.
Converting images into cut lines in silhouette studio
If you are using a silhouette machine, the easiest way to convert an image is to use the built-in trace function that the silhouette comes with. So for me I always try this first, to see what my outcome is.
Most times the result is not that great with photos, so I tend to use Photoshop or imaengine to make my image easier for the software to trace. Once I have my image in a highly contrasted black and white format, I bring it into the Silhouette studio.
From here you click on the button on the right side that looks like a butterfly. This is the trace function within the program.
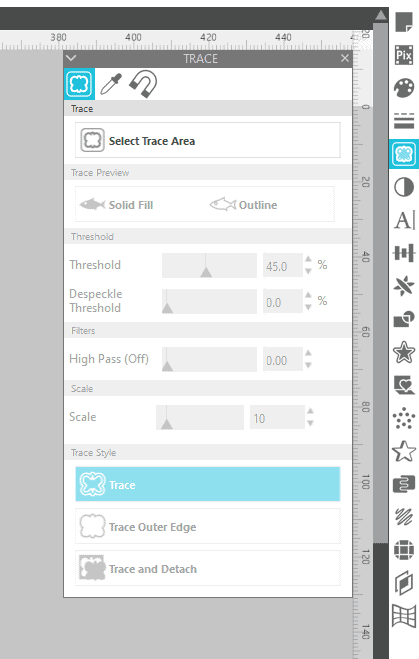
Now click on the select trace area button and click and drag your mouse over the image. When you let go, you will see that your image is now yellow. It is important that all the areas you want to cut are yellow, and when they are (use the sliders) you click on “trace”.
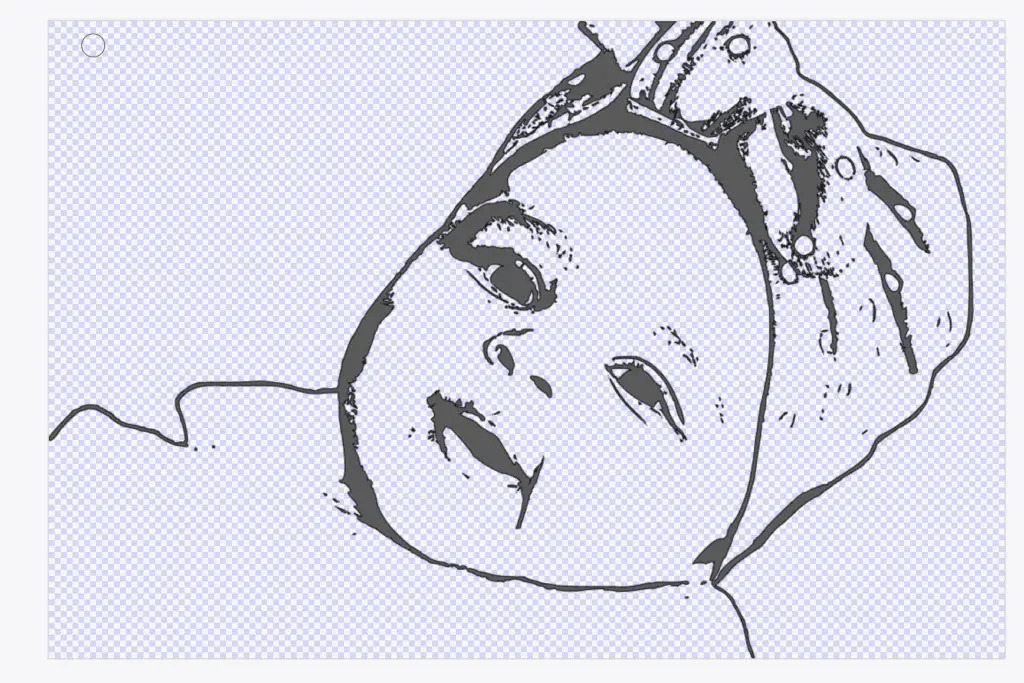
This will leave you with your cut lines for your silhouette to cut. These are red. You can now drag the image that lies underneath away and see the cut lines.
I think it is easier to get a good look at the lines, if I fill the cut lines in with color. You can do that at the top left (the pink rectangle in the image below).
These are my results using the image we made black and white in Photoshop. As I said this will give you a very photo-realistic look and you might need to edit some parts out with your eraser tool.
Converting images in Cricut
If you are using a Cricut you don’t have the same slider available to use, as silhouette users do. To use your image in Cricut design space, you click on make a new project and then locate the “upload” button on the bottom left of the screen.
Once you have uploaded your image you click on complex and then you will be presented you a screen where you get to erase the parts of the image that you do not want your machine to cut.
On the image that we have been working on here, all the white parts are the ones you need to delete.
This can be a little time consuming, so take your time and click on the *preview* button on the bottom, so you can see what your finished cut file will look like as you edit it. You can see here how it looked on my screen as I was editing the image.
Once you are happy with the preview you click on the button to continue and then you pick the option that says “save as a cut file”
Remember to name and tag your image, so you can easily find it later. Once you save your file, it is now ready for you to bring into your canvas in Cricut Design Space and cut with your machine.
Converting images using procreate and drawing yourself
The last option I want to present you with is making your images into black and white by hand-tracing them on your iPad, using the app called Procreate.
Remember the photo at the very top, where the natural texture of the hair makes it difficult to cut and weed? with that photo, I would try and make a hand-trace to get rid of some of the texture. My image resulted in this when I traced over the image.
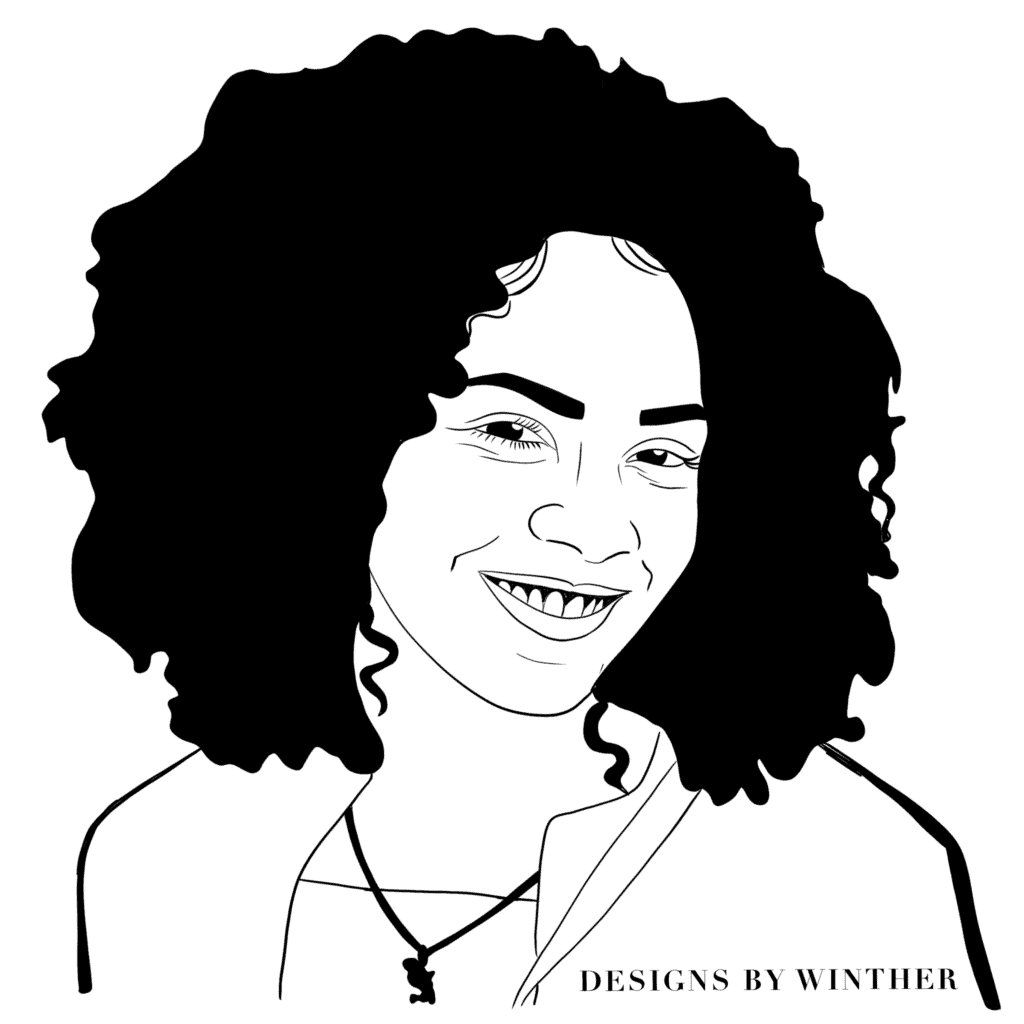
Do you see how I have made this image into one that is easy to cut and weed? I tried keeping some of the detail around the eyes but got rid of a lot of detail in the hair. How much detail you keep is entirely up to you and the finished image will be a reflection of your personal style.
This does give a whole other effect than the photoshop result because it is hand-drawn. So, you kind of need to like this sort of style if you want to use this method.
Here is what I did and how you can do it too.
- Open Procreate on your iPad and make a new canvas (the plus sign in the right top corner).
- Click on the little wrench in the top left corner and pick add -> insert photo. Then pick the photo you want to trace
- Reduce the opacity of your image, so you can see the lines you are about to draw. Find your layers, click on N, and then you use the slider to reduce the opacity
- Add a new layer on top of your image
- Find the brush called technical pen and begin to draw the features you want to highlight in black
- Once you are done drawing you delete or hide the original image and then click on share -> png
Now your image is hand-traced and ready to be put into your cutting program. This method will give you a black and white image, like with the photoshop method, so you need to trace the image in your software, once you are done drawing.
Getting help in online groups
Alright, So I hope you now have a better idea of how you can go about converting your images into cut files.
If you still can’t get the look you want or don’t have access to the method you like the best, then there are many groups online that will help you out.
Just try and search Facebook for svg converting groups and I am sure that there is a friendly person who can help you get the right result. And if not, then you can always hire a designer to help you out. If you search for “image to svg” on Etsy, you’ll find that there are many sellers who offer digitizing services.
Are you about to add multiple colors go this SVG file in silhouette cameo?
What program would you suggest for a windows 8.1 computer. I do not have an Iphone or a Ipad my phone is a android. I do not have photoshop.
Thank you for showing how to save as a svg file. I hope you can help me. Have a great day.
I cannot find a photo converter to svg. I have a pc